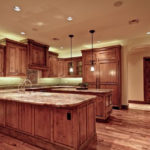
 Whether you’re trying to save money, conserve energy, or just keeping up with the latest technology trends—there are many reasons to make the switch to LED lighting. If you’re renting your space, it’s a great way to cut back on electrical bills while adding a little personal touch. If you’ve just purchased a property, it’s a great long-term investment and the perfect way to highlight the decorative features of your home.
Of course, LEDs do more than just add to the aesthetics of a home or business—the efficiency and adaptability of low-voltage lighting systems allows them to outperform and outlast the competition.
Most of us have made the switch to some degree or another, replacing a few bulbs here and there, or purchasing new LED fixtures out of convenience. But even with all the benefits of low-voltage lighting, it’s still rare to find a home or business that has completely converted to LEDs.
Believe it or not, converting your home to 100% LED lighting is easier than you might think, and will pay major dividends in the long run. So this fall, we’re challenging our customers to commit to making the switch!
Follow the simple steps below to get started, and let us know the results once you’ve completed the challenge!
Step 1: Assess
The best way to get started is by inspecting each fixture in your home. Making note of each light source will allow you to identify the best way to upgrade each to LEDs.
You’ll likely find a combination of fluorescent (CFL), incandescent, and halogen bulbs. We recommend keeping a list or diagram in order to keep track of each. Ours looked something like this:
| Room | Fixture | Type |
| Living Room | Recessed Can Lights x 8 | Incandescent |
| Ceiling Fan | CFL bulbs | |
| Floor Lamp | Incandescent | |
| Kitchen | Recessed Can Lights x 12 | Incandescent |
| Chandelier | Incandescent | |
| Under Cabinet Lighting | Fluorescent | |
| Bathroom 1 | Over-mirror bulbs | CFL/LED bulbs |
| Bathroom 2 | Recessed Can Lights x 6 | Incandescent |
| Bedroom 1 | Ceiling fan | Incandescent |
| Bedroom 2 | Ceiling fan | Incandescent |
| Closet Light | Incandescent | |
| Garage | Overhead lights | Fluorescent |
Step 2: Replace Bulbs
Perhaps the easiest part of upgrading to LED lighting comes from the simple act of swapping out bulbs. If you own the home you can even replace these Edison-base fixtures entirely with ones specially designed for LED bulbs. This is especially common for recessed can lights, but it isn’t strictly necessary. Most major lighting retailers now carry high-efficiency LED bulbs specifically designed for use with high-voltage sockets, at a fairly reasonable price.
 That being said, once we tallied up the total number of bulbs required for replacement, the cost was initially a bit surprising. After much research, we decided on a combination of Hyperikon BR30 LED bulbs, G7 True Color LED Recessed Light Bulbs, Feit 8 Watt R20 Flood Bulbs, and VersT8 LED Tubes, each of which averaged around $8 apiece. This may seem steep when compared to a $1 Edison bulb, but when considering the longevity of up to 20 years, the price suddenly made sense!
One of the things which tends to concern people when making the switch to LEDs is the idea of matching brightness (or lumen output) to existing lights. When LEDs first emerged on the market, the technology, still in its infancy, earned an unfortunate reputation for not being “as bright” as incandescent bulbs. Fortunately, advancements in efficiency have more than disproven this misconception, and nowadays it’s hard to find and LED bulb that can’t compete with its old-fashioned counterpart.
In fact, this is a great chance to brighten things up by increasing the lumen output in key task-related areas like kitchens and bathrooms. If you aren’t exactly sure how to compare LED lumens to the old wattage rating for incandescent bulbs, you can use the handy comparison table below to make an estimate:
| Lumens | LED Wattage | Incandescent Wattage |
| 250 (dim) | 1-5 | 25 |
| 450 | 6-9 | 40 |
| 800 | 8-12 | 60 |
| 1110 | 9-13 | 75 |
| 1600 | 16-20 | 100 |
| 2000 (bright) | 25-28 | 125 |
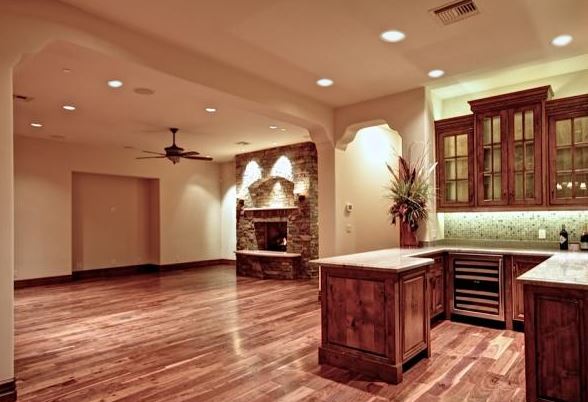
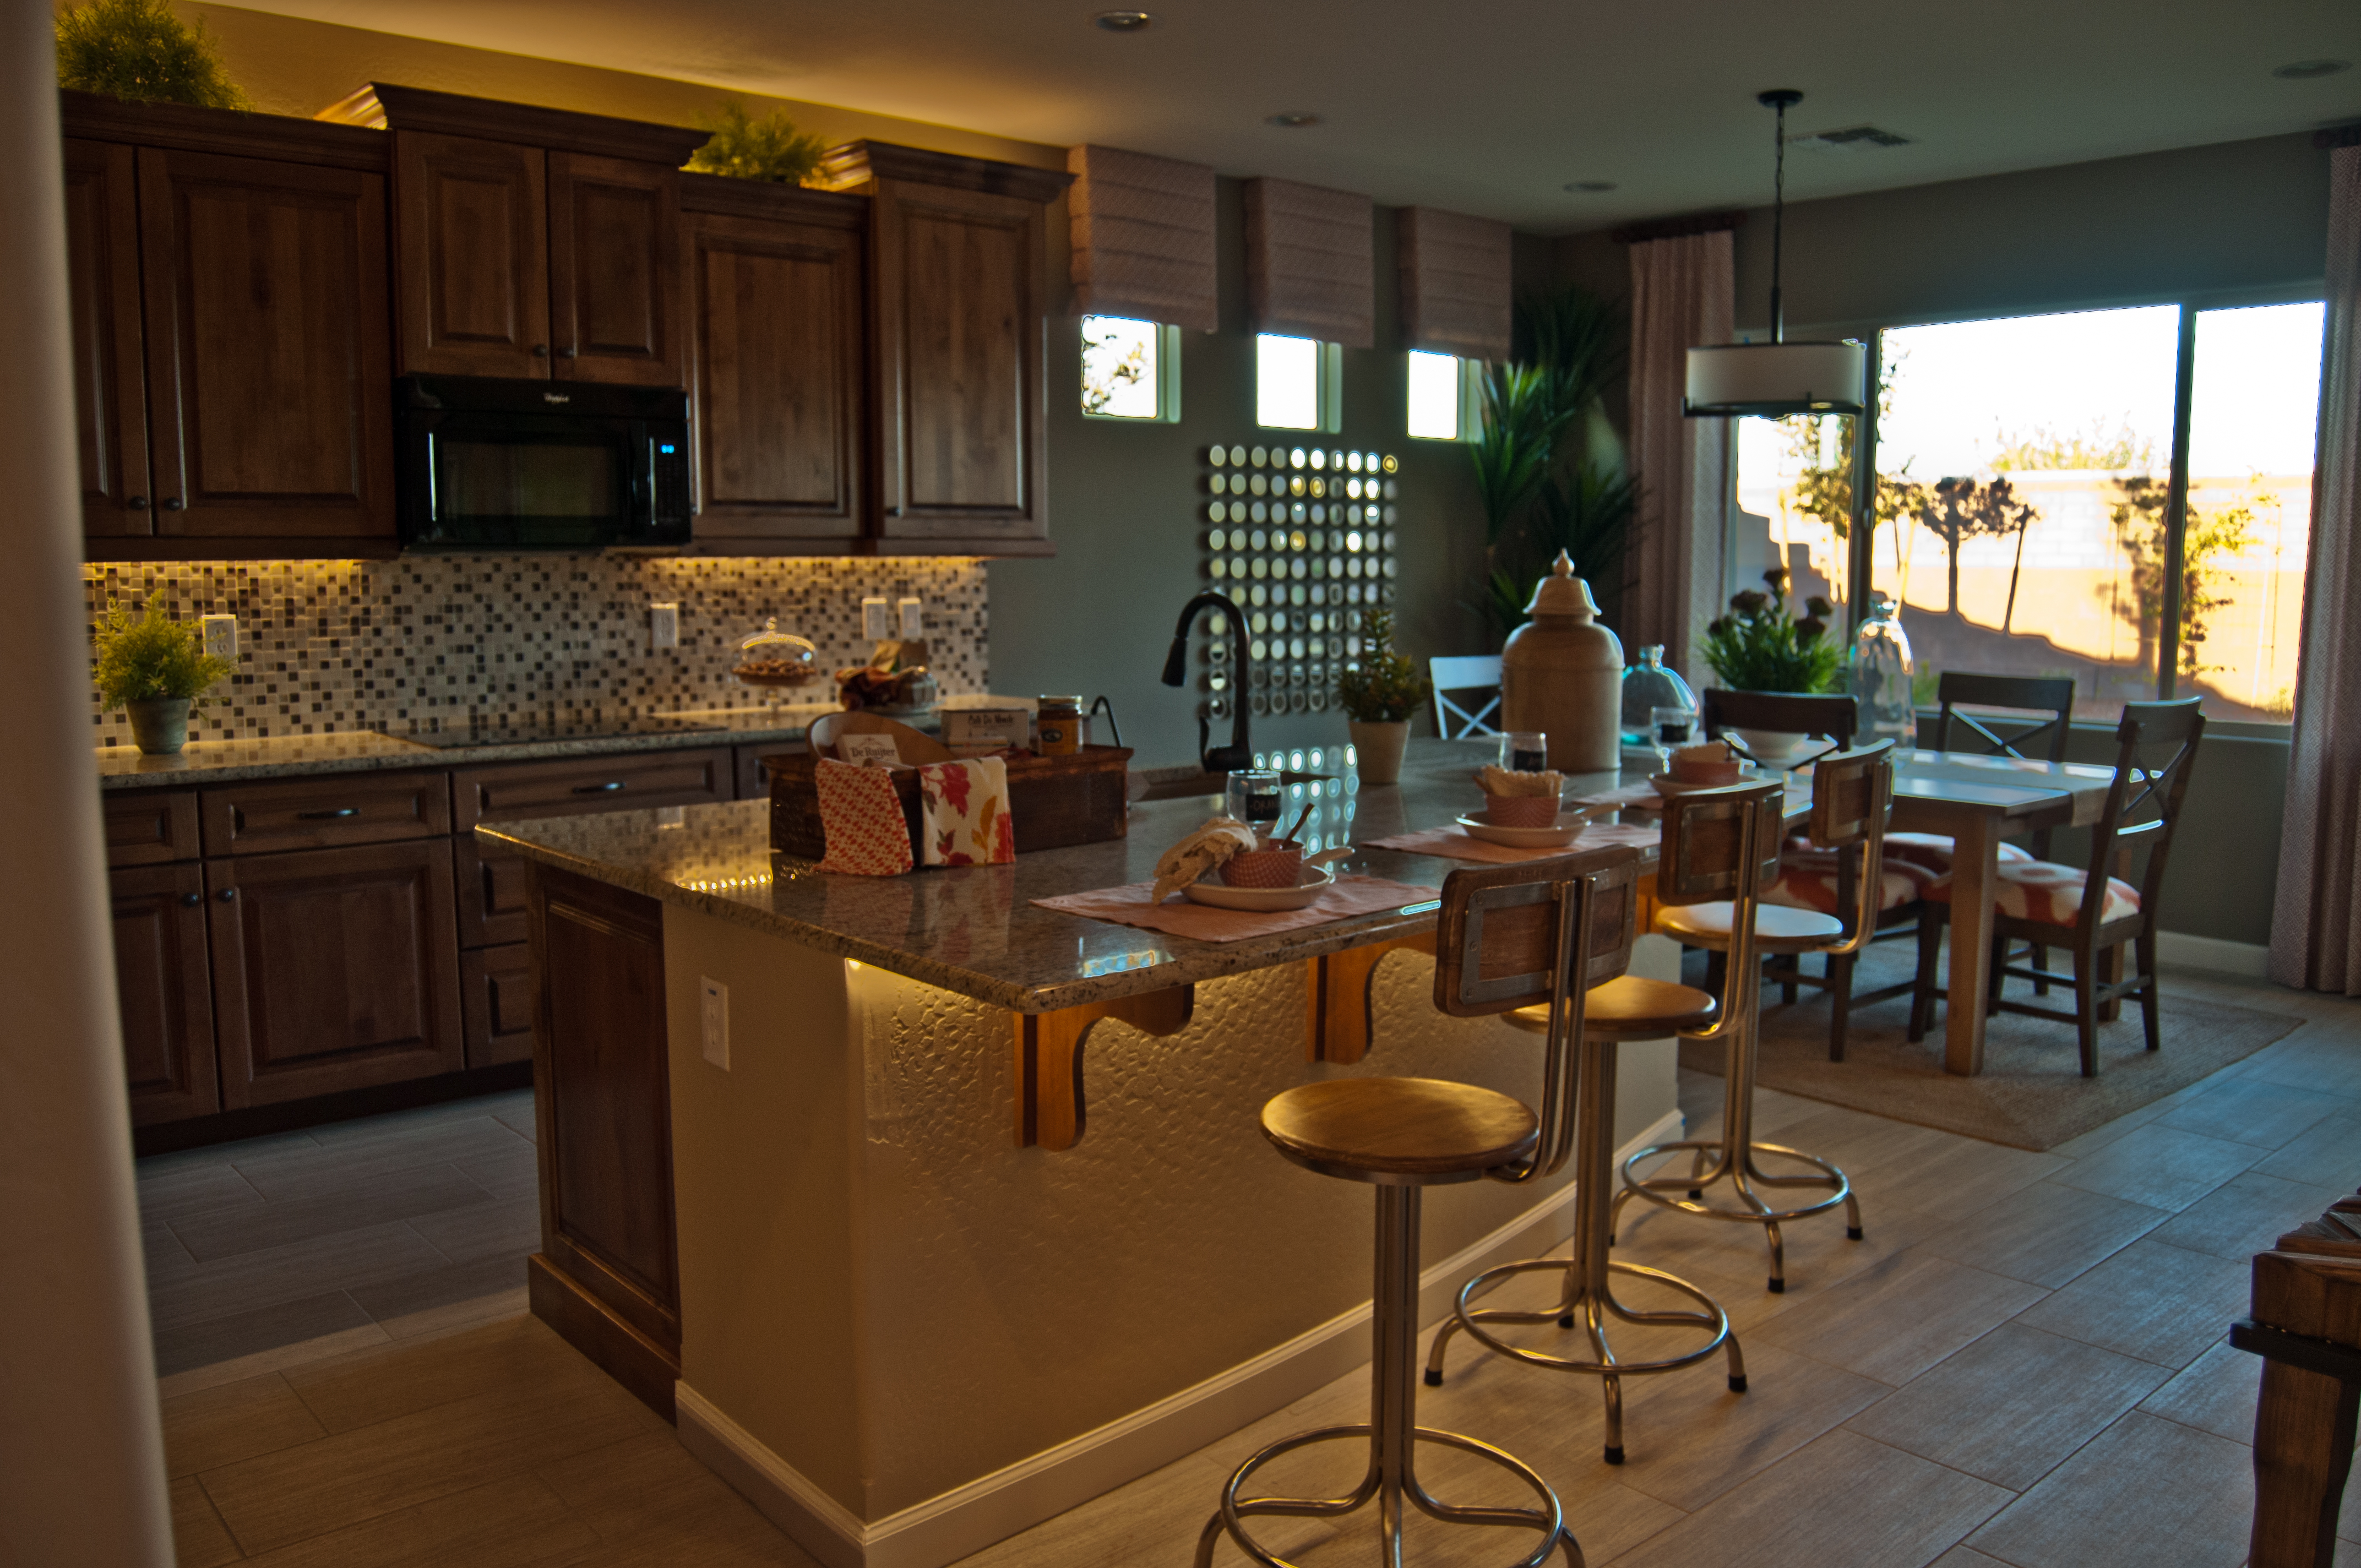
Color temperature is another important choice to make when deciding on an LED bulb. As a general rule of thumb, warmer colors tend to work well with traditional décor, featuring earth-tones and rich woods. On the opposite end of the spectrum, cool white lighting tends to look better with ultra-modern décor, or in work related settings like garages.
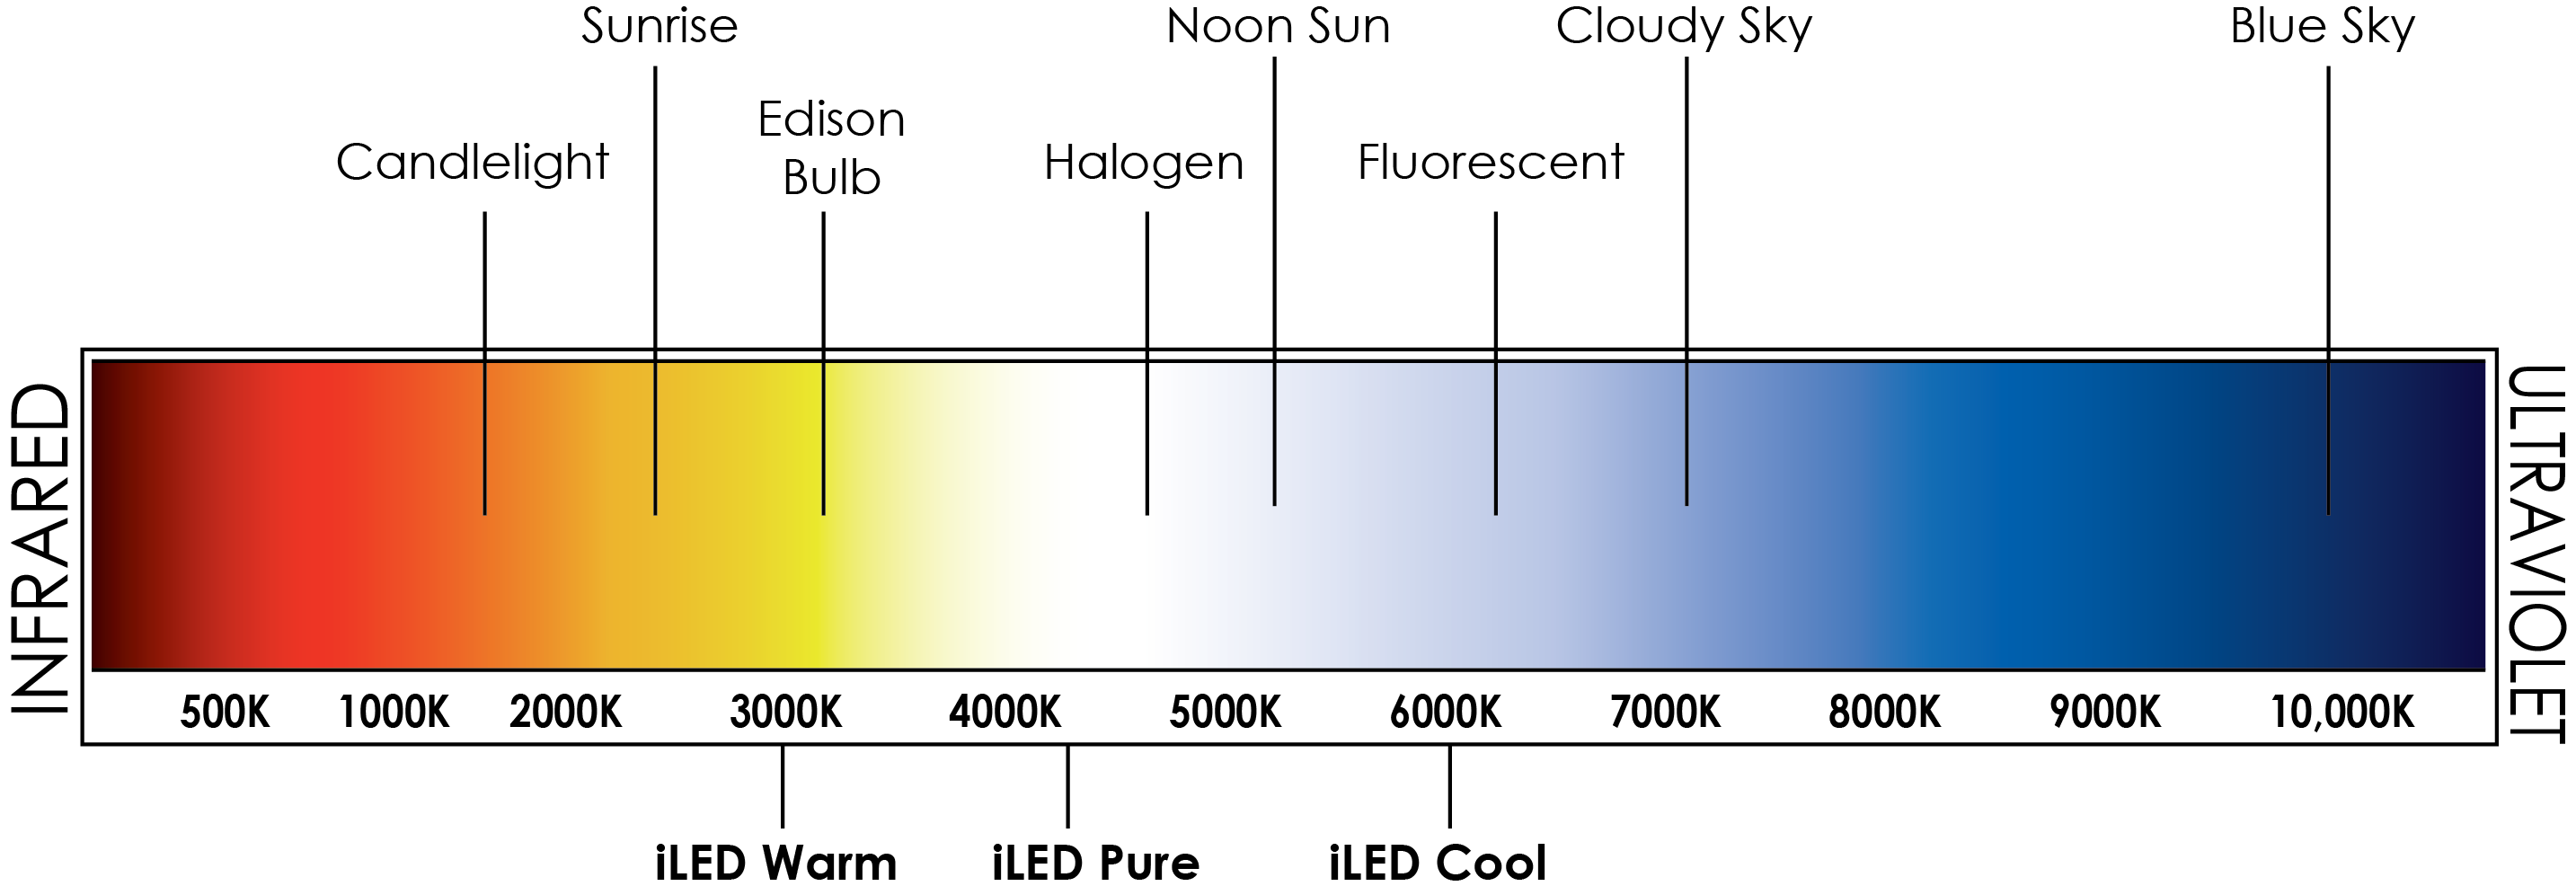
Most important, however, is to make sure that all the lights (regardless of their source) maintain the same color temperature throughout a room. Check out the Kelvin Temperature Scale below to get a better sense of your LED lighting options:
Step 3: Upgrade Fixtures
Congratulations! If you’ve made it this far, the bulbs in your home or business have all been replaced with LEDs. You have taken a major step in reducing your carbon footprint, your energy costs—not to mention, all that hard work of swapping bulbs won’t have to be repeated for years to come!
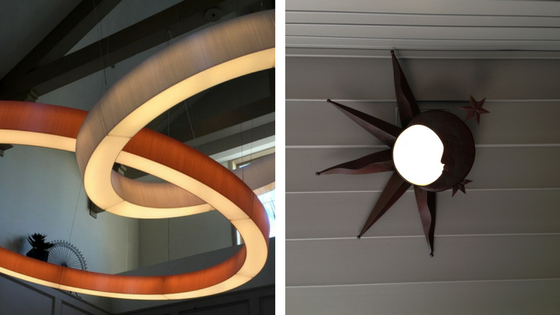
Now it’s time to take a look at some of the trickier lighting applications which may be left over. These may be unique or vintage items, non-standard fixtures, or architectural accents. Whether it’s an old lamp passed down from your grandma or a piece of illuminated artwork, Inspired LED can help you upgrade to LEDs while maintaining the integrity of the original design. Our expert Lighting Designers have retrofit everything from sconces and chandeliers, to statues and stained glass windows.
To get started, submit a photograph of your fixture along with some basic measurements to our Design Team here. Within 48 hours, one of our Designers will be in touch with a design proposal. They will work with you to finalize and approve the quote, as well as provide support during install. Best of all, services are FREE!
Step 4: Add New Accents
Once you’re done upgrading bulbs and existing fixtures, the real fun can begin! Now that you’ve saved so much energy by switching to LEDs, there’s plenty of room leftover to add a little extra lighting here and there.
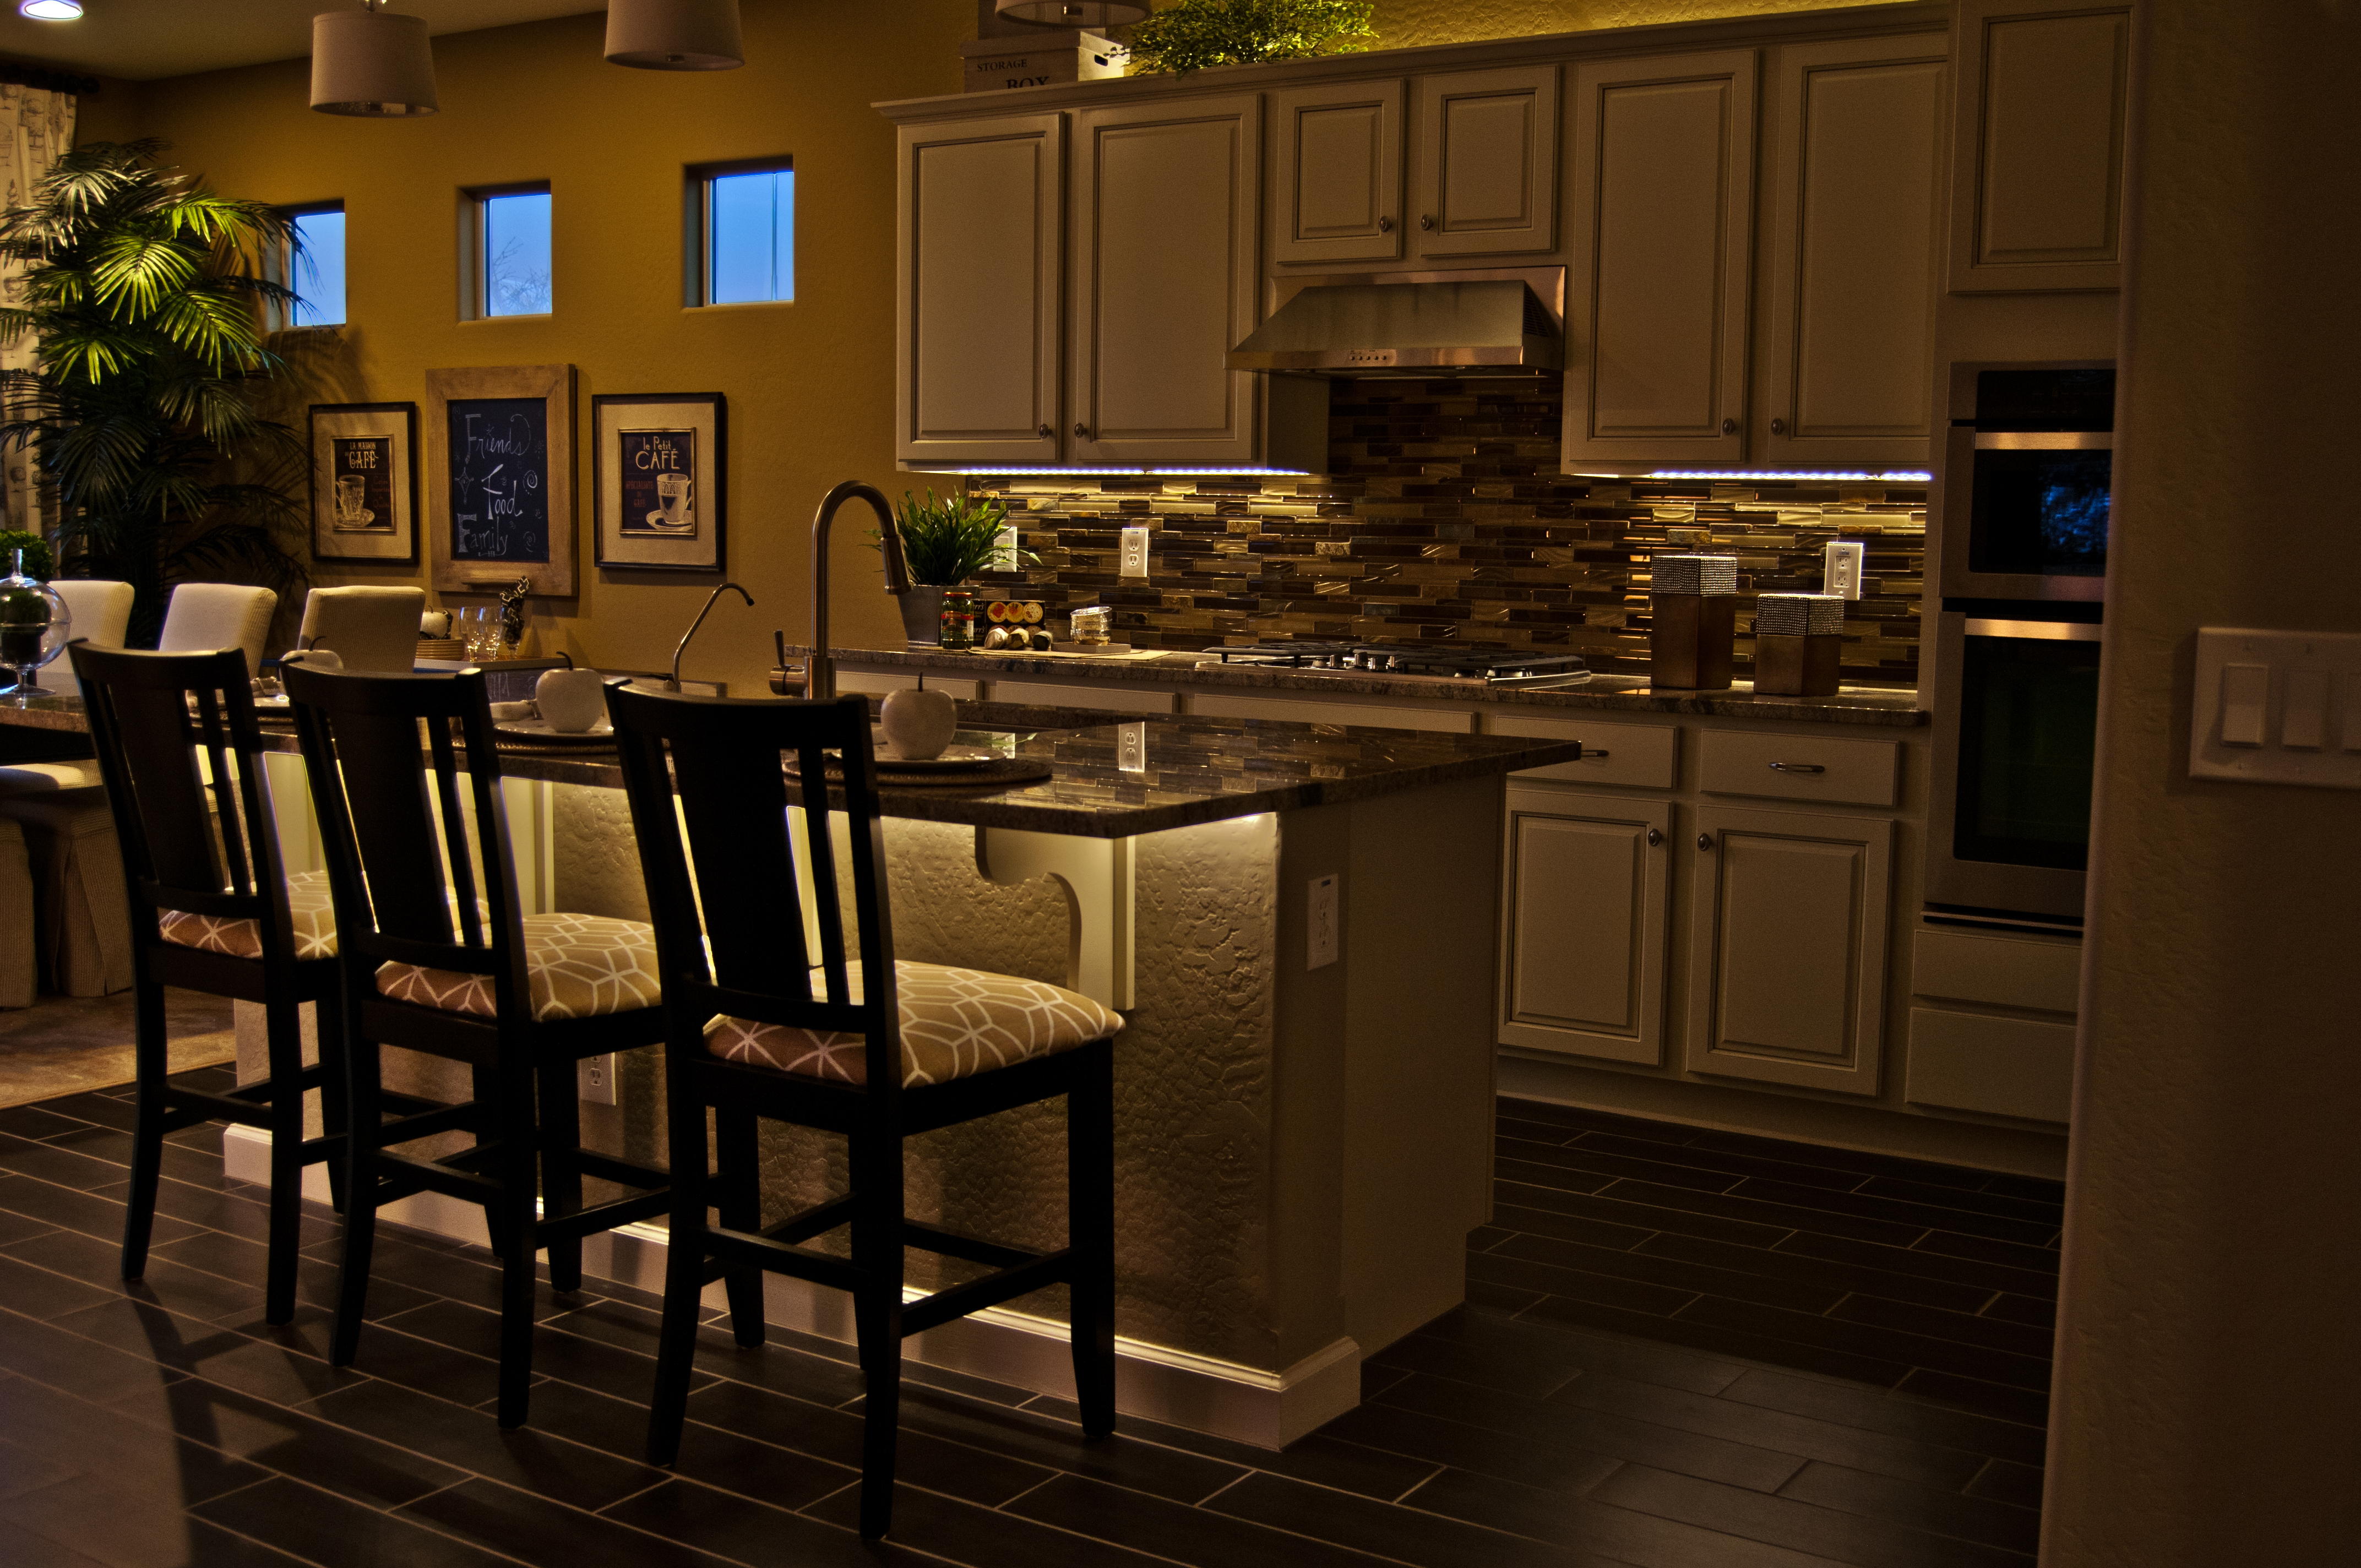
The most common applications for LED accent lighting are under and above cabinets, along shelving, ceiling coves, and lining stairs or pathways. Click the links to check out some of our most recent project tutorials, or view our gallery for some extra inspiration.
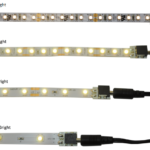
Inspired LED offers a wide selection of 12V and 24V linear strip lights which are perfect for any location. With a range of brightness levels and color temperatures to choose from, including the option for water-resistant silicone sleeving, the possibilities are limited only by your imagination!
Step 5: Success!
So there you have it! A few simple steps to help you go 100% LED…
Let us know if you took up the challenge, and how you’re using LEDs to save energy and money for your home or business!
Be sure to keep up with Inspired LED’s blog and follow us on Facebook for more lighting tips and project ideas. For more information on making the switch to LED lighting, contact Inspired LED at orders@inspiredled.com, visit our website www.inspiredled.com, or give us a call at 480-941-4286.