If you’ve recently spent time browsing through a model home, window shopping at a mall, or eating in a high-end restaurant, you may have noticed some unique accent lighting displays.
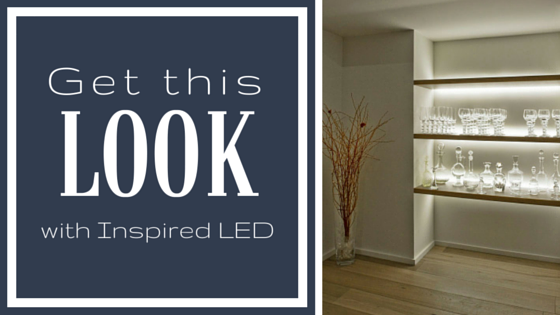
As LEDs become more readily available on the market, they are also becoming more commonly specified in new builds and architectural designs. In the hands of an experienced interior decorator, LEDs can create some stunning visual displays of light and shadow. In this segment, we reveal some of the secrets of how our LED products can be used to create some of these dramatic, eye-catching looks, beginning with the “floating” shelf.
One of our most popular project photos on social media is this image of contemporary backlit shelving, accentuating glassware. Because there is no lip on these shelves which can be used to conceal the LED flex, the designers for this project decided to take advantage of the small space between the back of the shelf and the wall. This one inch gap leaves more than enough room to run a low profile LED flex strip, and by pointing the LED strips backward, the wall itself becomes a reflection point for the light, creating this “washed” or glowing look. The same technique is often applied when lighting coves or accenting crown molding.
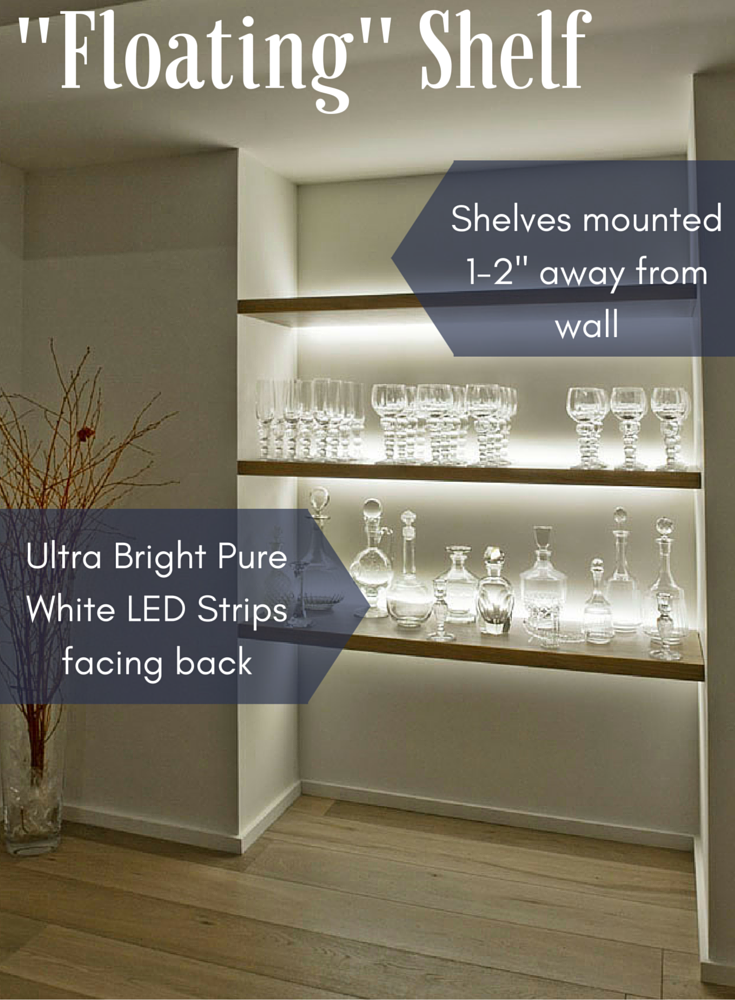 To achieve this look, you will need shelves which mount on either side, rather than against the wall (you can even use a free-standing bookshelf with no backing). Start by measuring out the length of each shelf you wish to light- remember to subtract 1.5” for each end connector required. You can either order your flexible LED strips custom cut, or cut them to length yourself and install tiger paw connectors as needed. For this particular project, our designers selected Ultra Bright Pure White flex strips, for a bright, neutral glow.
Once your LED strips are cut to length, we recommend temporarily mounting them in place along the backside of each shelf in order to make sure everything works to your satisfaction prior to install.
If your shelves are in a location where you have the ability to conceal your cables in the wall, you will need to drill a small hole in the desired location and feed the wires from each LED strip though to a hardwire dimmable transformer. An electrician will then be required to connect your system to a wall switch.
If you are working with a standalone shelf, or do not have the ability to run in-wall cable, you will want to use cable clamps to hide the wires behind vertical shelf brackets. You can then daisy-chain the lights together from top to bottom using interconnect cables until you reach the last strip. Here, you will need to connect an in-line controller, and then to a plug-in power supply. For an extra level of convenience you can plug in to a (non-dimmable) switched outlet, then control your lights from a standard on/off switch.
Once you have tested your lighting system and are happy with the results, you can remove the adhesive backing from the LED strips and complete your install. And there you have it, a simple, elegant shelving display sure to become a standout in your home or business!
Be sure to keep an eye on our blog for the next feature of Get This Look with Inspired LED, as well as other project tutorials, and company news. If you would like assistance with your next lighting project, contact our customer service team at orders@inspiredled.com, or take advantage of our free Design Services for a free layout and quote!